Teach you how to use NERF Rival Pathfinder XXII-1200 half dart mod kit .
Posted by WorkerJGC on
You need to prepare the following tools before making a retrofit:
1. Screwdriver (for removing and mounting screws)
2. Ruler (for measuring the cutting position of the shell)
3. Cutting pliers or utility knife (for cutting the shell, please take precautions when using it)
4. Sandpaper or file (for sanding the trimmed edges)
5. Super glue (for mounting some parts)
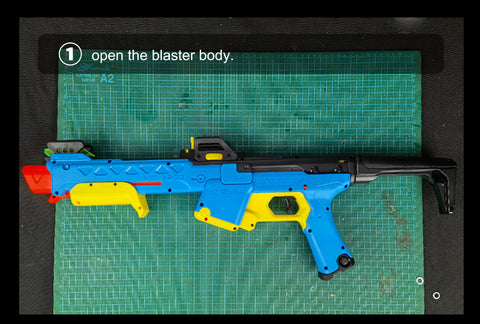
1. Remove the screws of the shell.
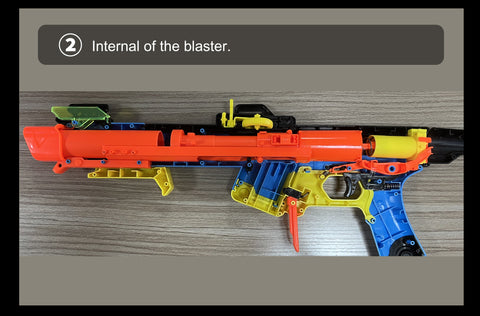
2.Blaster internal parts reference drawing, you can refer to this drawing when installing.
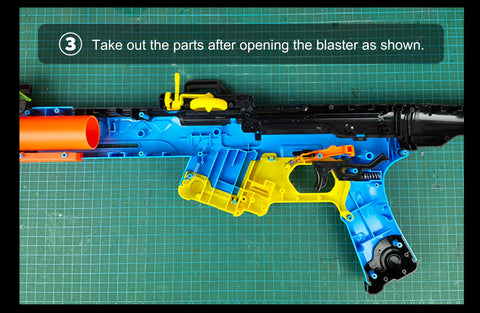
3. Remove blaster internal parts as shown above
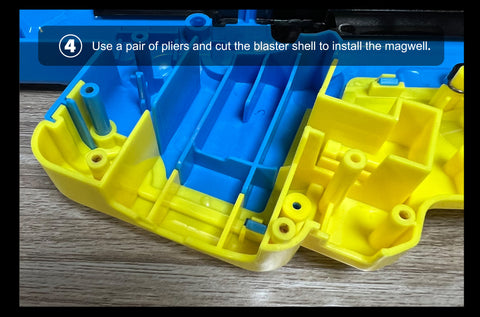
4. Use a pair of clippers and cut the blaster shell to install the mag adapter .
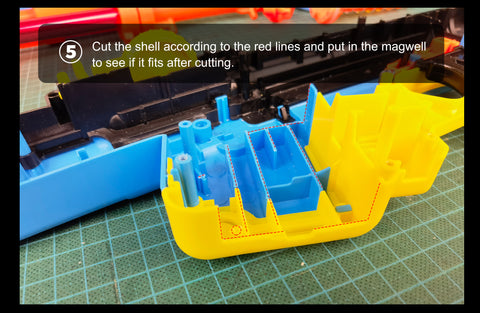

5. Cut the shell according to the position of the red line in the picture, and use the mag adapter to match it to see if it fits.
-Follow the principle of cutting from small to large
-Note the process is not reversible
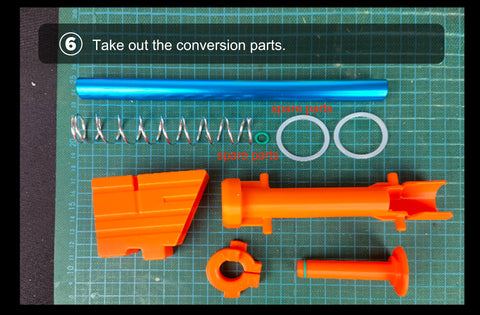
6.Ready for Mod Kit Set.
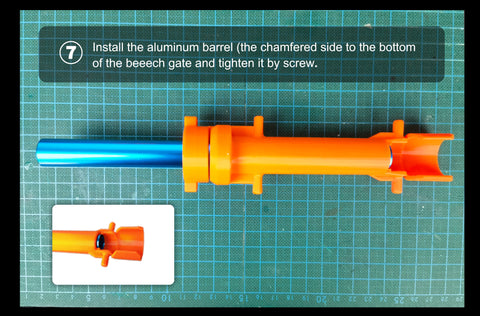
7. Install the aluminum tube, the dart catcher and the fixing ring as shown in the picture above. It should be noted that the chamfered side of the aluminum tube should face the dart catcher. Then tighten the screws.
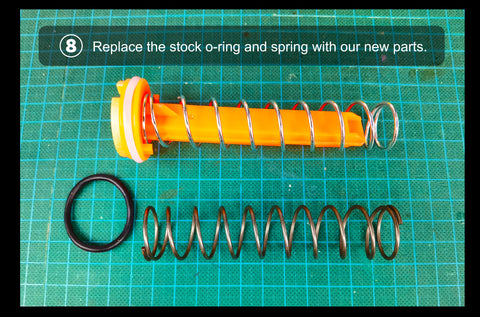
8. Replaced the spring and O-ring on the piston push rod with the one from the Mod Kit Set.
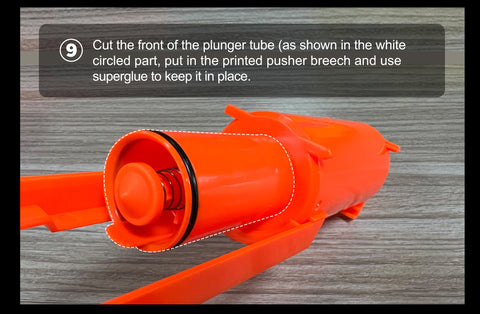
9.After cutting out the white circle in the picture, attach the push rod and stick it with super glue (glue is not included in the mod kit set)
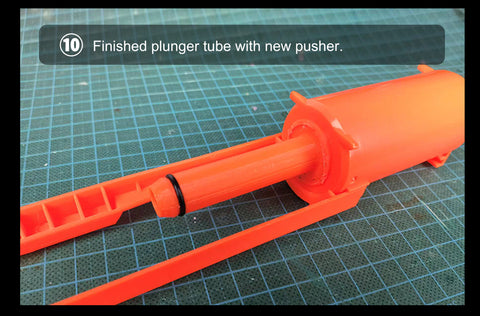
10. The installed push rod should be as shown.
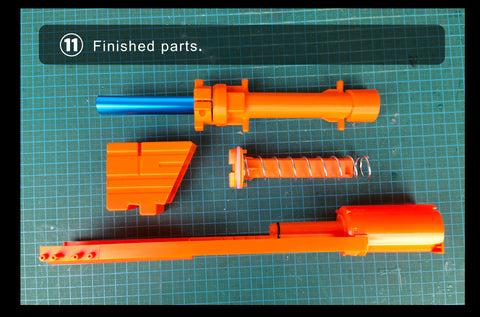
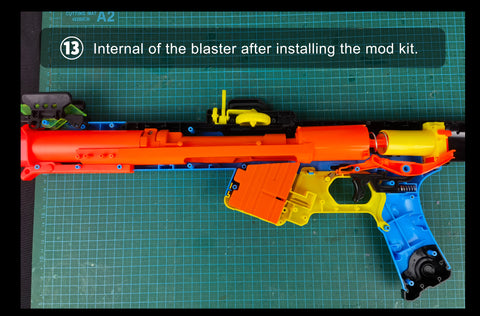
11. All modified parts are shown in the figure.
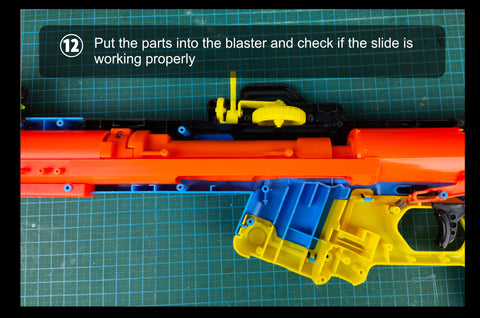
12. After installing the bolt sled, test whether the loading process is normal.
(Note that the notched end of the piston rod goes up)
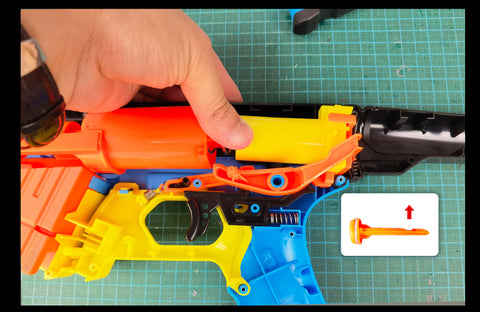
13. All parts should be installed as shown in the picture.
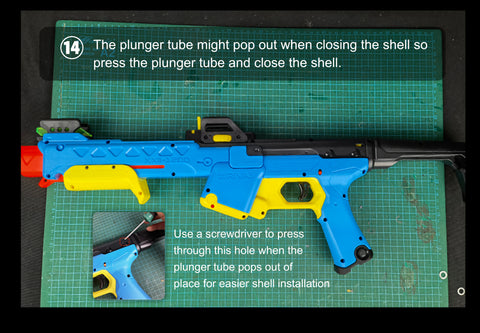
14. The cylinder will bulge during the final installation, as shown in the figure, use a screwdriver to fix it and then install it.
Congratulations, you have completed the installation of NERF Rival Pathfinder XXII-1200 half dart mod kit!!
Share this post
- Tags: nerf mod kits